Keeping those hearing aids in top shape isn’t just about sound quality; it’s also about preserving your investment. When you regularly maintain your hearing aids, you’re essentially elongating their lifespan, ensuring they perform optimally, and saving money on potential repairs or replacements.
Right off the bat, imagine dealing with constant static or a muffled sound just because your hearing aid’s not clean.
Sounds frustrating?
It’s a common problem that can be easily avoided with regular maintenance. Think of it like washing your car or cleaning your phone screen. Little efforts lead to a big difference in performance.
A well-maintained hearing aid can provide clearer sound, reduce the need for frequent adjustments, and make day-to-day use a breeze.
It’s like giving your ears the VIP treatment they deserve. Plus, it boosts the hearing aid’s reliability when you need it the most, ensuring you catch every word of that crucial conversation.
Being proactive about your hearing aid’s upkeep not only enhances its performance but also reflects a commitment to your hearing health. This isn’t just maintenance; it’s about creating effortless and naturally simplified experiences. Not to mention, it safeguards against unnecessary frustrations that stem from neglect.
Think of maintenance as a tiny bit of TLC (tender loving care) that goes a long way. It’s less about the chore and more about the rewards—better sound, more autonomy, and fewer hassles. When you take that little time each day or week, you’re setting up your devices for success.
Daily and Weekly Hearing Aid Cleaning Routine
Setting up a routine for cleaning is crucial to keep those hearing aids in pristine condition. Just like brushing your teeth or washing your face, it’s all about making it a habit.
How often should you clean your hearing aids?
Daily for basic care and weekly for a more thorough clean. Daily cleans handle things like earwax buildup and dust, while weekly sessions dive a bit deeper, ensuring everything stays spotless overall.
Start each day by wiping your hearing aids with a soft, dry cloth to remove any oils or moisture from overnight. This simple act prevents dirt from accumulating and keeps your aids working smoothly.
Weekly cleanings are slightly more detailed.
Use your brushes and wax picks to carefully clean any small openings. Ensure you’re gentle yet thorough, especially around microphones and speakers. This prevents blockages that could affect sound quality.
Make sure to load the cleaning supplies somewhere convenient. When tools are handy, you’ll be more likely to keep up with your routine. It’s all about accessibility leading to consistency.
Remember to power off your hearing aid before cleaning to avoid any accidental damage. Oh, and avoid sanitizers with alcohol—these can damage the components.
Consistent cleaning not only ensures optimal performance but also helps in catching any early signs of wear and tear.
Recommended Reading: What is the Difference Between a Hearing Aid And a Hearing Amplifier?
Essential Hearing Aid Cleaning Tools and Their Uses
Got your cleaning routine down?
Great! Let’s talk tools.
Having the right equipment makes cleaning your hearing aids much easier and more effective.
Brushes are your best friend here. They help sweep away dust and earwax, especially in those tiny nooks and crannies where just a cloth won’t do the trick. Make sure the bristles are soft, so you’re keeping the tech intact while clearing away gunk.
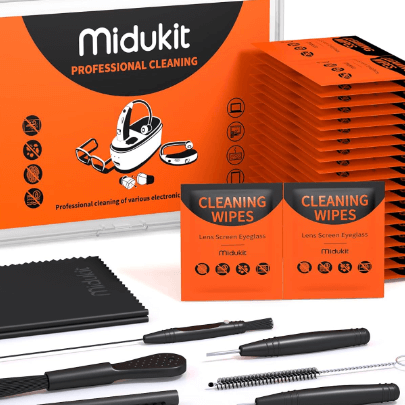
The wax pick is another powerhouse tool you’ll want in your kit. It’s perfect for those stubborn wax bits that cling on for dear life, particularly around the opening of the sound bore.
Don’t overlook wax filters either. These little guys are crucial in preventing wax from reaching important hearing aid components. Keep a few of these handy to swap out whenever you notice the sound becoming a bit muted.
A multi-tool is like the Swiss Army knife of hearing aid cleaning. It combines several tools in one compact design—think picks, magnets, and brushes all rolled into one convenient package. Perfect for folks on the go.
Invest in a dedicated tool kit designed specifically for hearing aids. It keeps everything organized and in one place, making that daily or weekly clean-up a whole lot easier.
By using the right tools, you’re minimizing the risk of damage and ensuring effective cleaning.
It’s like having a little maintenance team right at your fingertips!

Step-by-Step Guide to Cleaning In-the-Ear Hearing Aids
In-the-ear (ITE) hearing aids might be small but are powerful in terms of sound quality and convenience. Their snug design means you need to be extra careful when cleaning them. Moisture and chemicals are a big no-no here, so let’s stick to the best practices.
Start by wiping the entire outer surface with a soft cloth, focusing especially around the microphone ports to remove any debris. This basic wipe-down prevents any blockages and improves sound clarity.
Use a cleaning brush or soft-bristled tool for those tiny openings. Gently brush away any earwax or debris that’s settled in. The key is to do this with care to avoid pushing stuff further in.
Wax picks come in handy for cleaning out stubborn wax that’s hiding in those tricky spots. Be cautious though! You don’t want to scratch or damage any components, so work slowly and lightly.
Keep a stock of wax filters, and change them regularly. If you notice a drop in sound quality, it’s often down to clogged filters. Swapping these out is like a mini refresh for your hearing aid.
Avoid liquid cleaners as they can damage the electronic components. If any part seems too tricky to clean or beyond your comfort, it’s always safer to consult a professional to keep things in check.
How to Care for Behind-the-Ear Hearing Aids
Behind-the-ear (BTE) hearing aids are known for their durability and power, but like anything else, they need a little TLC to keep them performing their best. Every part of these hearing aids, from the unit to the earmold, requires attention.
Start by detaching the earmold.
Use a slightly damp cloth to clean it, but make sure it’s fully dry before reattaching. Moisture is not your friend here—it can lead to damage and affect performance.
The tubing connecting the earmold to the main unit can gather moisture and dirt over time, so be sure to perform regular visual checks. Every few weeks, remove the tubing from the aids and clean it thoroughly, ensuring it’s completely dry before reattaching.
For debris around the microphone and the speaker, your trusty cleaning brush and wax pick are essential. Gently sweep any particles away to avoid blockages.
Ensure the battery compartment stays clean and dry. If it collects any moisture, it can wreak havoc on battery life and performance. Sometimes, leaving it open overnight can help any gathered moisture evaporate.
Store your BTE hearing aids in a protective case when not in use. It keeps them safe from dust, moisture, and accidental damage. A dry box can also be beneficial, especially in humid climates, to keep the aids moisture-free.
In case of any persistent issues or decrease in performance despite cleaning, it’s wise to get in touch with a professional who can service and troubleshoot any problems you might have.
Protecting Your Hearing Aids from Environmental Hazards
Keeping your hearing aids in top shape goes beyond cleaning. Protecting them from environmental hazards plays a huge role in their longevity and performance.
Moisture and extreme temperatures are two of the biggest culprits in damaging hearing aids.
Always remove your aids before swimming or bathing, and be cautious in overly humid or sweaty conditions. Moisture can silently seep into the device, impacting its functionality over time.
In hot situations, like a sauna or a sunny day at the beach, be sure to keep your hearing aids out of direct heat. Excessive temperatures can warp or damage the internal components, leading to costly repairs.
Chemicals are another threat. Avoid using hairspray or lotions while wearing your hearing aids. Even everyday products can deteriorate the tiny parts over time.
When you’re not wearing your hearing aids, store them in a protective case. A case not only shields them from dust and damage but also keeps them at a stable, safe temperature. Consider using a drying box if you live in a particularly humid environment.
Keeping them in the charging unit when not in use also ensures they’re ready to go, provided the unit has built-in drying features.
By taking these preventative steps, you’re ensuring that these versatile gadgets stay in peak condition and continue delivering great sound quality.
Advanced Tips for Prolonging the Life of Your Hearing Aids
Noticing your hearing aids acting up even after regular cleaning?
It might be time for a professional touch. Professionals can spot issues you might miss, like subtle electronic glitches or mechanical wear.
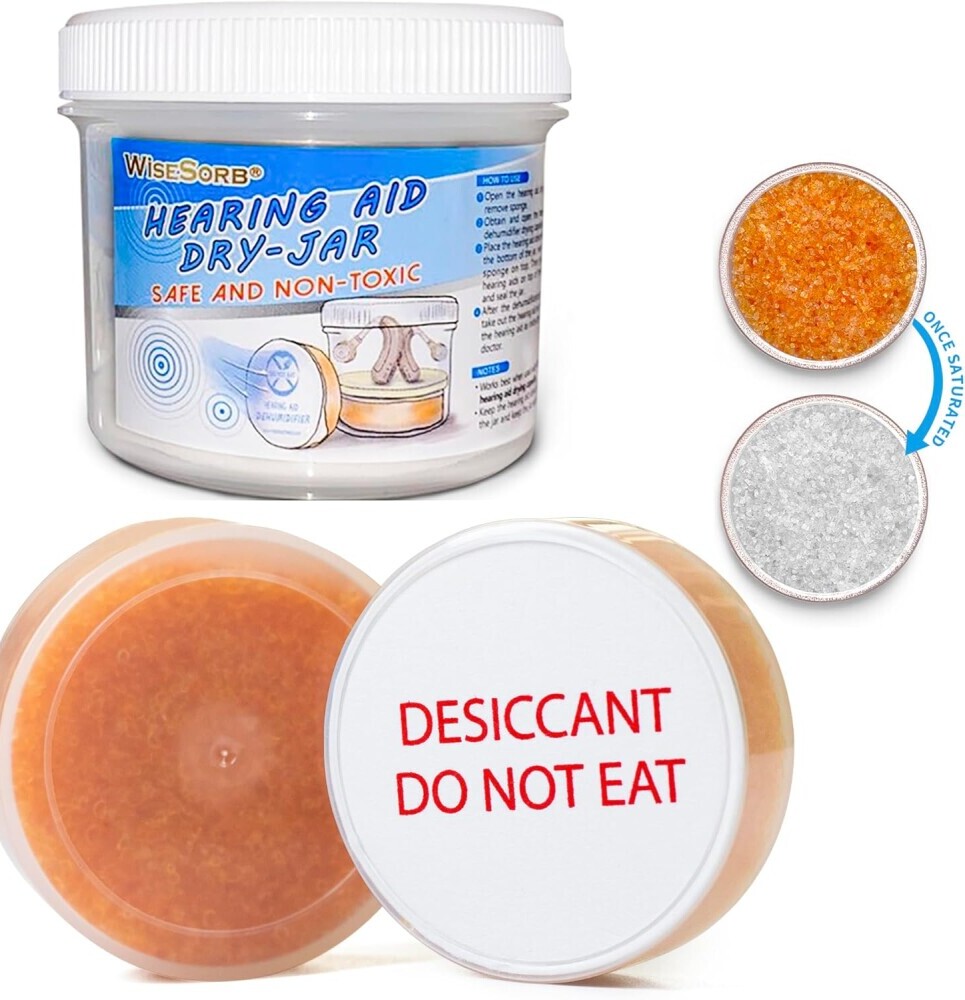
Proper storage is another game-changer for extending the life of your aids.
Use dedicated storage solutions, like hearing aid dryers or cases, to manage humidity levels. These nifty products suck out moisture, preserving the inner workings of your device.
Developing a consistent habit of refreshing wax filters and vent cleaning prevents accumulated build-up that could interfere with sound quality.
It’s a bit like regular oil changes for your car, ensuring everything runs smoothly.
Always keep an eye on the battery.
Replace it as soon as you notice any decrease in performance. Some folks find it helpful to keep a spare set of batteries with them, so they’re never caught off-guard.
At times, advanced technology might need updates or recalibrations. Check with your audiologist about any software updates or adjustments that can enhance device performance.
Keeping up with these suggestions ensures you’re getting the best experience.
And there you have it! That’s how you can ensure long-lasting performance by using your precious hearing aids.
Did I miss anything? Share your tips on how you go about cleaning your hearing aid below.
Regards and Take Care
Roopesh
My mother-in-law is a user of a hearing aid and has had issues in the past, therefore this post has come at the right time for me personally. For anyone wishing to utilise this knowledge personally or to aid others, i thoroughly endorse. The information provided here is not only relevant but extremely helpful to broaden my knowledge and will aid me and my family moving forward. Thank you for publishing.
Wow, thanks so much for this beautiful comment. Hope that all is going well with your mum-in-law and her hearing aid. Please tell her that she welcome at any time to contact us for support or help.