Earwax—officially known as cerumen—is more than just that sticky stuff you find in your earbuds. It’s your ears’ natural way of staying clean and healthy. Working like a protective layer, it helps keep dirt and germs from entering those tiny holes that lead to your eardrum. Plus, it acts as a natural moisturizer, preventing dry and itchy ears.
Sometimes, though, earwax can pile up, leading to a blocked feeling or a full-on traffic jam in your ear canal.
Ever wonder why?
Well, factors like using earbuds a lot, genetics, or even just being in dusty environments can up the production of this waxy wonder.
As much as we joke about earwax, getting rid of it safely is super important. Improper removal can cause damage or infections that have you sprinting to the doctor. Don’t go poking around your ear canal with pointy objects. They aren’t welcome guests.
Ready for some safe, natural ways to help manage earwax buildup at home? Keep reading for methods you can try yourself, with items you probably already have on hand.
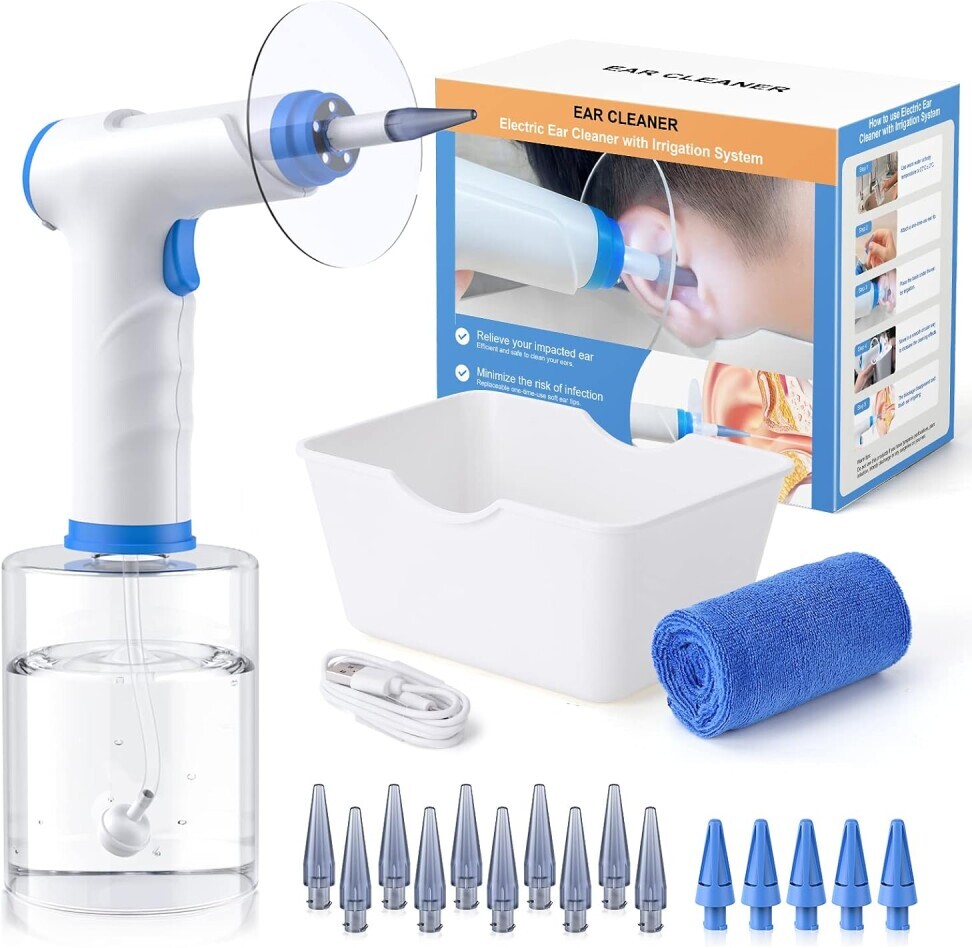
Gentle Method #1: Warm Water Irrigation
One of the simplest and most effective ways to handle earwax buildup is a good old warm water rinse. This doesn’t mean dunking your head under the faucet! The goal is to gently flush the wax out using water.
Start by grabbing a bulb syringe or a specialized ear irrigation kit. Fill it with warm water—not too hot, because, you know, burning isn’t on the agenda today.
Aim the syringe at your ear canal, but remember, gentle pressure is key. The water will work to soften up the wax, making it easier for the gunk to leave your ears.
Remember that your ear canal is sensitive territory. If there’s any chance of a perforated eardrum, it’s best to steer clear of this method. Water and an injured eardrum don’t mix well.
Better safe than sorry, right?
Give your ear a little tilt after flushing to let the water and wax drain out naturally. You might hear some crackling—that’s actually pretty normal and usually means things are moving out just fine.
Finally, this isn’t a daily routine. Use it sparingly. Your ears know how to clean themselves, and overdoing it can lead to irritation or even infection.
Gentle Method #2: Olive or Mineral Oil Drops
Olive or mineral oil drops are like a soothing spa treatment for your ears.
The oils help to soften the wax so it can come out naturally over time. This method is not only effective but also super affordable—bonus points for that.
To start, grab some high-quality olive oil or mineral oil and a little dropper. Gently tilt your head to the side and place a few drops into your ear. You don’t need to flood it—four or five drops should do the trick.
Once the oil’s in, try to stay in that head-tilted position for a few minutes, just to let the oil work its magic. You might want to chill for about five to ten minutes. What you’ll notice is that the oil softens the wax, making it easier to naturally expel itself over time.
This method is pretty low risk, but if you don’t notice any improvement after trying it a few times, it might be a sign to switch strategies.

Heads up! If you’re experiencing symptoms like pain or significant hearing loss, a quick chat with a healthcare provider would be wise.
Recommended Reading: 4 Proven Methods To Naturally Improve Your Hearing
Gentle Method #3: Hydrogen Peroxide Solution
Hydrogen peroxide might sound a bit intimidating, but it’s a trusty ally in the battle against stubborn earwax.
This common household item helps to break down wax thanks to its bubbling action, making it easier for the wax to come out on its own.
First things first, get yourself a 3% hydrogen peroxide solution. Dilute it correctly by mixing equal parts with water. This keeps it safe for your sensitive ear canal. You don’t want anything too strong coming close to those delicate parts.

Using a dropper, carefully insert a few drops into the blocked ear while your head is tilted to the side.
Listen to the fizzing and let it sit for about five to ten minutes. As it bubbles, it’ll break down the wax—kinda like a mini lava lamp in your ear!
After the time’s up, tilt your head the opposite way to let the fluid drain out. You might want to have a towel handy for this part.
Repeating this process a couple of times over a few days should do the trick.
Always be careful—if the solution causes any burning sensation or irritation, stop using it immediately. It might be a sign to talk to a healthcare professional to get some personalized advice.

Gentle Method #4: Baking Soda Solution
Baking soda isn’t just for baking cookies and freshening up the fridge. It’s also an awesome, gentle way to tackle earwax buildup. This humble white powder can help soften up the wax, making it easier to remove naturally.
To whip up your baking soda ear solution, dissolve about half a teaspoon of baking soda in two ounces of warm water. The solution should be mild, ensuring it’s easy on that sensitive ear skin.
Once mixed, use a dropper to apply a few drops into the ear canal while your head’s tilted to one side.
Let it sit for a few minutes. This gives the baking soda time to work on softening the wax.
When you’re ready, tilt your head the other way to let the solution and hopefully, some softened wax flow out. Having a little towel at the ready is a good idea to catch any drips.
You can repeat this process a couple of times over a week, but if you don’t see any improvement or experience any pain, it’s probably time to hit up a healthcare provider for more personalized ear care options.
Gentle Method #5: Steam Inhalation
Steam is a powerhouse when it comes to loosening things up, including that pesky earwax.
It’s gentle, doesn’t require sticking anything inside the ear, and yes, it has the bonus of clearing other stuffy concerns like nose congestion.
All you need is a pot of boiling water and a towel.
Once you’ve got that pot nice and steamy, remove it from the heat and place it on a safe surface. Drape your towel over your head and position yourself at a comfortable distance over the steam, creating a tent effect that traps the steam. Be careful not to get too close—you certainly don’t want to burn yourself.
Breathe in that warm steam for about 10 to 15 minutes. It helps to gently loosen up the wax, nudging it to naturally find its way out over time. You won’t see immediate results, but with repeated sessions, you’ll likely notice a difference.
Just a heads-up: make sure to practice caution around hot water and steam, especially if you have kids around.
As with any method, if things don’t improve or you feel discomfort, seeking the advice of a healthcare professional can ensure your ears are happy and healthy.
Innovative Solution: Garlic and Coconut Oil Drops
Combining the natural goodness of garlic with coconut oil gives you a two-for-one punch against earwax buildup.
Garlic isn’t just for making your pasta sauce sing—it’s got antimicrobial properties that are handy for keeping ear infections at bay.
Start by peeling a clove of garlic and gently crushing it. Heat a tablespoon of coconut oil in a small pan, toss in the garlic, and let them sizzle for a couple of minutes. The warmth helps infuse the oil with the garlic’s beneficial compounds. Once cooled, strain the oil to remove the garlic bits.
Using a dropper, apply a couple of drops of the garlic-infused coconut oil into your ear while tilting to one side. Keep that position for around 10 minutes to let the oil work its magic on the wax. Afterward, tilt your head the other way to let the oil and softened wax flow out.
It’s all about finding that balance between effectiveness and gentleness. As they say, too much of a good thing can be just as problematic.
If your ear discomfort persists or escalates, consulting a medical professional is the right path. This ensures you’re not dealing with an underlying issue that needs a different approach.
When to Avoid DIY Earwax Removal Methods
Sometimes, DIY methods just ain’t the answer.
Ear issues can be tricky and when it comes to your hearing, better safe than sorry. Recognizing when a hands-off approach or expert intervention is needed can save you a world of discomfort.
Signs you’re in over your head?
Pain, significant hearing loss, or any symptoms of infection like discharge or a fever. These are your body’s not-so-subtle hints that it’s time to bring in the pros. Ear, Nose, and Throat specialists have tools and insights that go beyond home remedies.
Overdoing it with natural methods can backfire, too. Frequent poking and prodding with various solutions might irritate your ear canal, making a small problem a lot bigger. Especially if you have conditions like eczema or allergies, tread carefully with at-home treatments.
It’s simple: if things don’t seem to clear up on their own, your doctor or audiologist is your best bet. They come armed with tailored advice and, honestly, peace of mind, ensuring your ear health is back on track with the least amount of hassle.
Conclusion and Final Recommendations
Keeping your ears clear and comfy boils down to using the right, gentle methods. We’ve covered some handy home techniques like warm water irrigation and oils that’ll help you manage that earwax without unnecessary risks.
But hey, always listen to your body.
When things don’t feel right, or home methods just aren’t cutting it, calling in a healthcare professional ensures you avoid further ear trouble. It’s always smart to prioritize your ear health over experimenting too much.
Sometimes, earwax might mess with your hearing despite all the care you take. In such cases, hearing aids designed specifically for ease and clarity might be the upgrade you didn’t know you needed. Finding a reliable recommendation can make a world of difference.
Ultimately, it’s all about treating your ears with care, knowing when to try a method, and when to seek out a little help.
Keeping that balance will have you hearing well and staying comfortable.
Happy Hearing and Do Take Care of Your Ears.
Kind Regards and Take Care
Roopesh